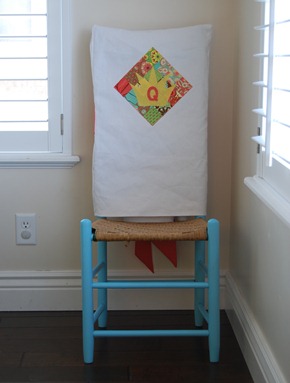





In case you missed my guest post over at seven thirty three on Tuesday…
Tiered Skirt

I’d say the fullness of this skirt would probably be best for kids’ sizes 2 through a slim 12. (Here’s the part where I admit to trying my 10 year old daughter’s skirt on my 2 year old son, just to see.)
Determine the length you want your finished skirt to be. Divide that number by 3.5. I wanted my finished skirt to be about 12”. 17/3.5 is 3.42-ish. I rounded up to 3.5”. All the strips you cut will be this measurement plus 1” high (so 4.5” in my example) EXCEPT for the very top tier/waist panel. That strip will be 1/2” taller than the others (so 5” in my example).
Tier 1 (the waist panel) will be cut the entire width of your fabric, roughly 45”.
Tier 2 will be 60”. Cut 2 30” long strips.
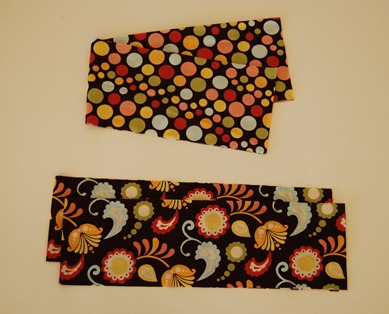
(tiers 1 & 2)
Tier 3 will be 80”. Cut 2 40” long strips.
Tier 4 (the bottom band) will also be 80”. Cut 2 40” long strips.

(tiers 3 & 4)
You’ll notice that with seam allowances and whatnot these tiers won’t end up precisely the measurements I’ve listed. IT’S OK! This skirt is SUPER forgiving.
All seams are 1/2”, unless otherwise noted.
Start by sewing the short ends of each tier together. You should have 4 giant loops. Tangent: Because I have issues, I seamed my tier 1 twice. I like having a seam there to match up with all the other seams. You really don’t need to do this and you’ll be 100% fine just matching up the half way point with the seams on the other tiers.

(actual seam on the left, seam I added in support of OCD on the right)
Take tier 4/the bottom band and press it in half, wrong sides together.

Matching seams, sew tier 4/the bottom band to the bottom of tier 3 (right sides together).

Serge, zig zag, or otherwise finish your seam.

Press seam allowance up towards tier 3.

Top stitch.

Run a long gathering stitch (stitch length as long as it’ll go on your machine and NO BACKSTITCHING) along the top edge of tier 3.

I did mine about 1/4” from the edge and did one for the front and then one for the back. I know many people like to do 2 rows of gathering stitches, just in case one breaks. I never do…I like to live on the edge. Or, I’m lazy. You decide.
Gather (by pulling the bottom/bobbin thread) the top of tier 3. Matching seams, middles, and/or anything else that makes you happy, pin it (right sides together) to the bottom of tier 2.

Stitch in place.

Finish your seam. Press seam allowance up towards tier 2. Top stitch.
Here’s what you’ve got now:

Run a long gathering stitch along the top edge of tier 2.
Gather the top of tier 2. Matching seams/middles/etc., pin it (right sides together) to the bottom of tier 1/the waist panel. Stitch in place. Finish your seam. Press seam allowance up towards tier 1. Top stitch.
Fold the top edge of tier 1 down 1/4” and press.
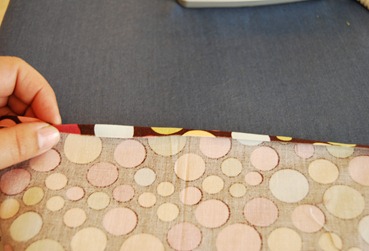
Fold the top edge down 1” and press.
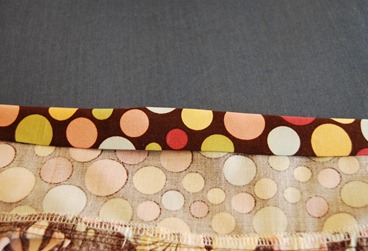
Stitch along the edge, creating your waist casing. Leave a 2-3” gap in the back for inserting the elastic.

Thread elastic the same length as the waist of the intended wearer through your casing. Once it’s threaded, have them try the skirt on if at all possible. It seems like my elastic always gets stretched out a little during this step!
Overlap the elastic ends and stitch together.
Close up your casing.
Aaaaaaaaaaand you’re done!