If you’re a professional drapery sew-er, you probably shouldn’t read this post.
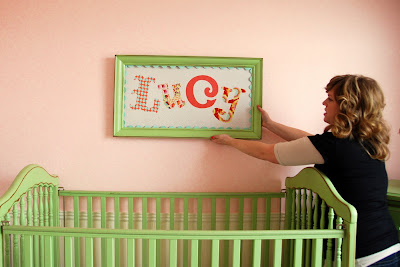
Neighbor Jami presented me with a sketch of what she had in mind for her nursery window treatment. (The valance will be in another post, which will also show the complete window treatment installation. For now, you get my lovely helpers holding things up.)

The main panel is the measurement of the window, plus the depth of the board we’ll be mounting it to at the top. I didn’t include seam allowances because I was adding ruffles to the edges to make up the difference. If you’re not adding ruffles, add seam allowances. I was working with a wide (60”) window and typical cotton fabric (45”), so I needed to seam the fabric.
I added strips of a contrasting fabric for a little visual interest.

I ruffled strips for the edges (3” strips pressed in half) using my ruffler foot and then basted them along the edges.
The back is a piece of a cheap-o white sheet cut the same size as the main panel. I sandwiched the pieces together, right sides facing, and sewed both sides, leaving the top and bottom open.
Next I turned it right side out and marked where the contrasting stripes were on the back of the curtain. I made a small button hole towards the bottom (about 2” up) on the backing fabric in the middle of where the stripes lined up.
Turn it back inside out and sew the bottom seam closed.
Turn it right side out and press.
Next I sewed along both sides of the contrasting stripes to form 2 casings.
Then I got a couple of these:

I think they’re called cord stops or toggles or something. You can find them in the notions section of the fabric store.
I threaded a piece of cotton cording (with a knot at the end) through them and then through the buttonholes on the curtain backing and up through the casings.

I pulled it taught-ish (i.e. not so tight it puckers) and then stitched the cording down so it wouldn’t move along the top edge of the curtain.
Why? So Jami can do this to let some more light in during the day:

(I swear to you it’s cuter with the valance, this post would have just been so long I’d have gotten kicked out of blogging if I’d put it all together.)
Stay tuned for the valance and the installation!


![name art[4]](https://lh6.ggpht.com/_9NthuyynL68/TYoFAxZUQnI/AAAAAAAAB9U/fzCbIQGt0mc/s1600-h/nameart45.jpg "name art[4]")