


Materials
- Baby bodysuit or tee
- Tie pattern (see link to pdf at end of this post)
- Fabric scrap for tie – you could get away with as little as 4″ X 8″ or 5″ X 6″ if you’re cutting the tail piece at an angle.
- Wonder Under, same sized as your fabric
- Thread
- Sewing machine or hand sewing needle
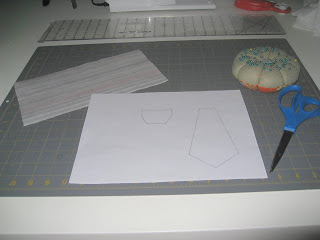
Fuse Wonder Under to wrong side of fabric using the directions on the product. (Already done in picture.)
Print tie pattern and cut out. It prints to scale for me, but for reference…the tail portion measures approximately 5.5″ from top to point and 3″ wide at the widest point and the knot portion measures about 2″ wide at the top and is 1 3/8″ tall in the center.
Trace both pieces onto Wonder Under paper backing. Depending on the print, you may want to rotate one piece 45 degrees (I did this in the example pictured).
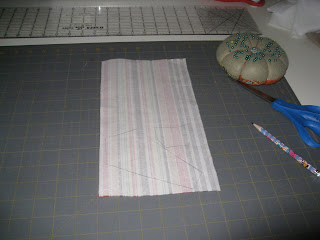
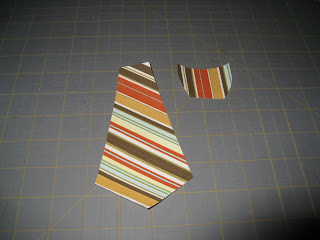
Cut out. Remove paper backing.
Line the “knot” piece of the tie up with the neckline of the shirt and center it. I like to slide it under the neckline a tiny bit. You might want to just touch the top of the knot with your iron to keep it from moving but BE SURE not to iron down the bottom edge of the knot.

Slip the “tail” piece of the tie under the knot piece about 1/4″.
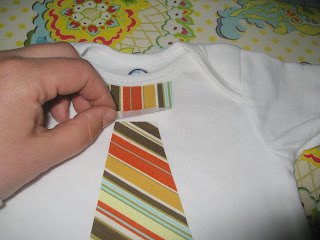
Fuse both pieces to the shirt.


Clear as mud? Leave any questions in the comments and I’ll clarify.
And here is a link to the pdf in Google Docs. I’m hoping that Mac users will be able to print it now.
***For personal use only. Make ‘em, gift ‘em, please don’t sell ‘em!***


