In case you missed my guest post over at Blue Cricket Design on Thursday…
My top choice to share with you today is (sadly) still in my garage unfinished. I haven’t had a decent day of spray painting weather yet! Stay tuned for that. Luckily, I had a back up plan.
So, let’s get on with the strainer hanging planter!
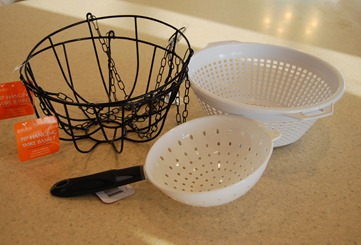
Supplies:
My original idea was to use actual thrifted metal strainers, but I came up empty handed . So, I picked all up these at my local Dollar Tree. I only ended up using one of the hanging baskets, so you’re looking at $3 plus spray paint and 3 tiny pieces of wire for the grand total on this project!
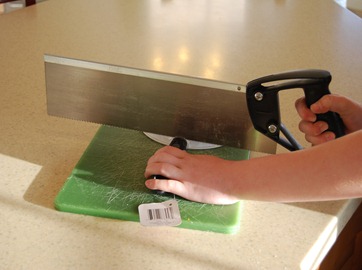
First, we need to remove the handle from the smaller strainer. It was on there pretty good, so I used a saw.
(OK, so that’s actually my 9 year old posing for the picture…she was safe, I swear!)
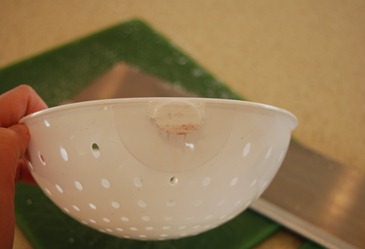
I took a little sand paper and smoothed off the edges where I’d cut.
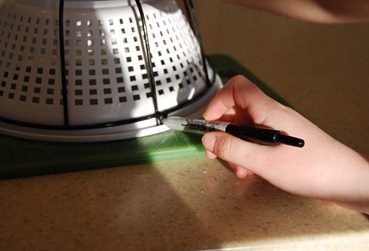
Next, remove your chains from that hanging basket. Use the basket to mark where the chains will attach to your big strainer.
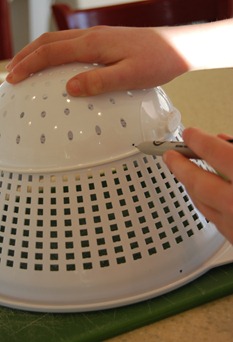
Transfer those marks to the small strainer, too.
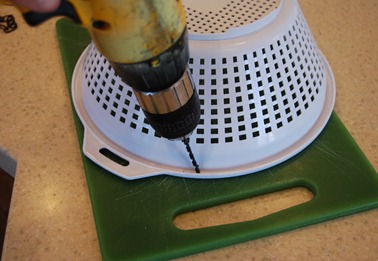
Drill holes where you just marked both strainers. I made them along the rim instead of on the body of the bigger strainer so it would be easier to attach the chains later.
You should have 3 holes in each strainer.
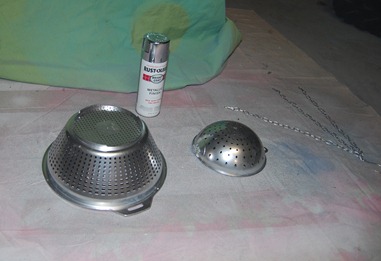
Now, we spray paint.
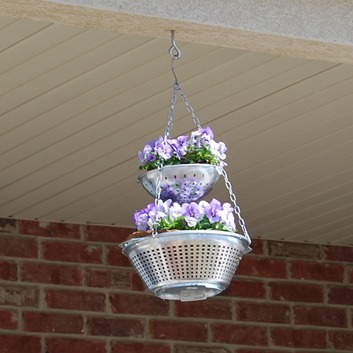
I used a metallic paint so it’d look like actual strainers. I think other colors would be cute, too. I painted the chain as well.
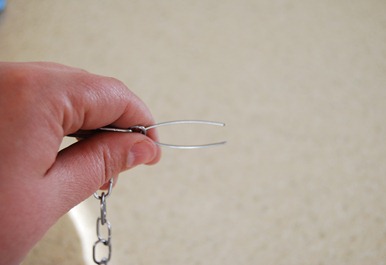
Next, I cut 3 small pieces of wire and bend them in half. I counted down each chain an equal number of links and stuck the wire through.
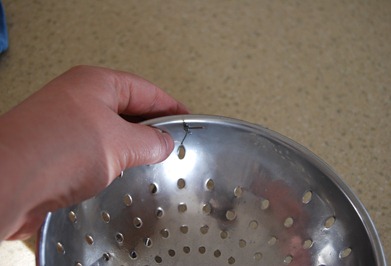
I stuck it through to the inside of the small strainer.
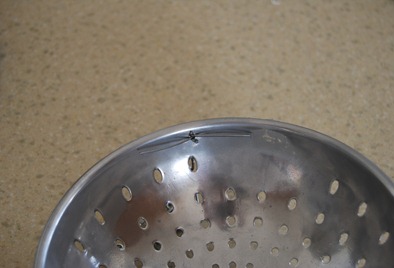
And then opened the wire up wide, like a brad.
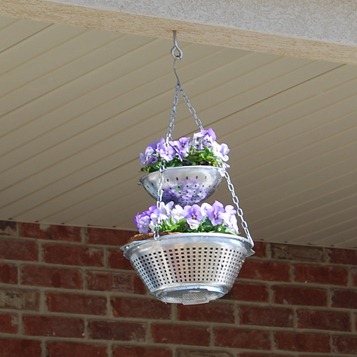
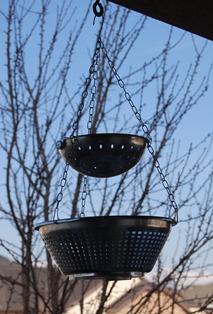
Clip the bottom of the chains to the big strainer, and you’re ready to plant!
I love pansies (and it was still early March when I made this so it was about all you could find at the garden center).
I think this would be darling with some hanging/creeping type plants, too. Or, filled with herbs…keeping it all in the cooking family!
*******************




I love it! I think I'll have my husband drill the holes though. I've been clutzy lately.
Great idea!
Just a quick note to let you know that a link to this post will be placed on CraftCrave today [10 Apr 02:00pm GMT]. Thanks, Maria
Such a great idea!
fun idea!
I never would have guessed that they were plastic.
fun idea!
I never would have guessed that they were plastic.
What a cute idea…I love the idea and I'm thinking about putting a little herb garden in one on my kitchen porch. Thanks so much!
Peace & Love,
~Barb~
Very creative. I love it.
I think it's better you didn't use metal… now you won have any rust issues
Love it. Stumbled on your blog from midwestern gone idahoa.
I just couldn't resist checking out your blog love the title. made me chuckle.
omg, i'm dying!! LOVE this!!! can't wait to hit the dollar store!!
Super cute, but I'm wondering if the spray paint will hold up during water the flowers? I guess if I try it I'll find out
Brit
http://www.esbechic.com
Cute.
SewCalGal
http://www.sewcalgal.blogspot.com
Very cool…
Totally thought the baskets were metal when I first saw the pic! Awesome idea!
What a great idea! I'm making one for the cottage.
This looks fantastic. Another project to add to my ever growing list! Thanks for the tutorial
You have been featured at Veronica's Korner. Please stop by and grab your featured button.
http://veronicas-korner.blogspot.com/
Hello…awesome!!!!
Love this idea!!
=)
I knew this was you the minute I saw it on CSI! I have loved this project since the first time I saw it.
I love the metallic look! They do look like old metal strainers! I love the way they turned out! Good job!
It turned out so cute. Great job.
That's really cute!! Great job!!
Very cool, I had no idea they were plastic and was about to get jealous your Dollar Store had metal strainers… hahahaha Great idea!
This is great! How creative.
Nice job Char! I never woulda guess you started with plastic strainers. It looks fabulous!
I never would have guessed those were plastic! Great job!