We use the Alfred books. They measure approximately 9” by 12”. If your books are bigger, you’ll need to make adjustments.
All seams are 1/2", unless otherwise noted.
Out of the exterior fabric, interior (lining) fabric, AND interfacing (I used fusible fleece) cut the following pieces:
2 – 11” X 14” (front and back)
1 – 13.5” X 14” (flap)
2 – 11” X 3.5” (side panels)
1 – 14” X 3.5” (bottom panel)
Out of exterior fabric only:
1 – 5” X 28” (strap)
Out of interfacing only:
1 – 4” X 28” (strap)
You’ll also need 2 – 2” pieces of velcro.
Here we go!
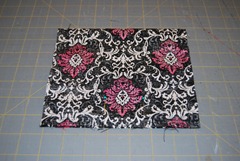
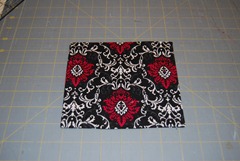
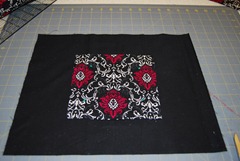
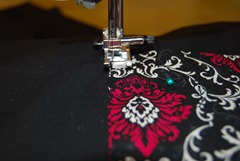
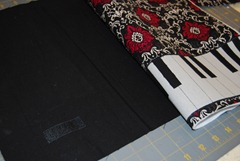
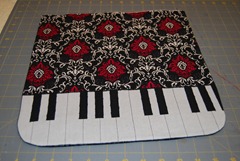
Embellish your exterior fabric front flap as desired. I used freezer paper here and applique here. My piano keys template can be found here. Be sure one of the 14” sides is the bottom.
Apply interfacing to either the exterior fabric pieces or the lining fabric pieces….whichever you prefer. Some people like the exterior fabric to be “stiffer” while some prefer it stays smooth and any fusing “bubbles” are hidden on the lining. I’m going to fuse it to the exterior pieces.
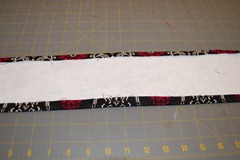
Fuse the strap interfacing right down the center of the strap fabric, leaving approximately 1/2” along each long side.
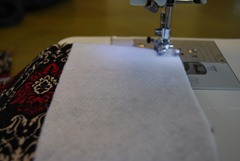
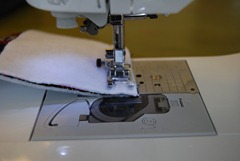
Next we’re going to sew velcro to your interior flap piece and your exterior front piece. Place the corner of your velcro 2” up and 2” in from each corner.
Sew in place.
If you want to add a pocket to the lining, now is the time to do that, too. I cut a piece of fabric about 13” X 7” and folded it in half, right sides together.
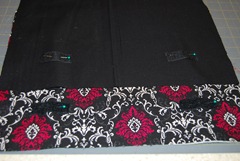
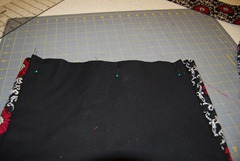
Sew from folded edge, around 3 sides. Leave a 2” opening along the bottom (marked by pins, which are barely visible).
Clip corners, turn right side out and press.
Center on back lining piece and stitch in place, leaving top (folded) edge open.
Next, get both flap pieces. Place right sides together.
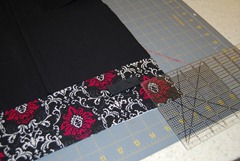
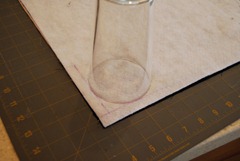
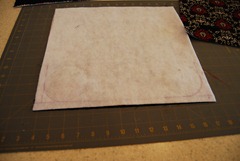
Along each bottom corner, mark 1/2” seam allowances. Using a cup or bowl, mark curve.
Sew along 3 sides, leaving top open and following curves you just drew. Trim seam allowances. Turn right side out and press. Set aside.
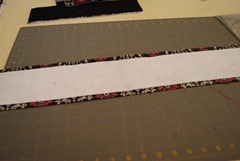
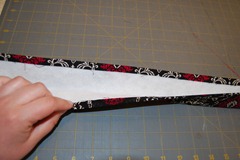
Next, the strap. Press the “extra” fabric along the edges over the interfacing.
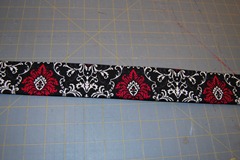
Fold the whole thing in half lengthwise and press.
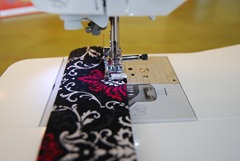
Stitch the open edge shut, about 1/4” from the edge.
Sew 1/4” from the folded edge, too. Set strap aside.
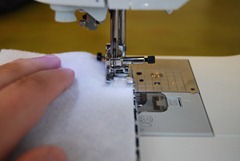
Now let’s assemble the body of the bag. Take the front piece and make sure the velcro is at the bottom. Place a side piece on the right edge, right sides facing. Start at the top of the bag and stitch.
Stop approximately 1/2” from the bottom corner. Be sure to backstitch!
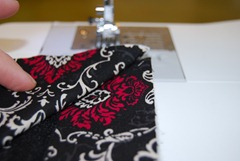
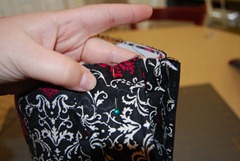
Fold the corner back at a 45 degree angle like this:
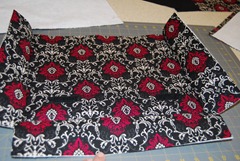
Put the bottom piece on top of the folded side piece and the front of the bag, right sides facing, and stitch, starting about 1/2” in. Be sure to backstitch!
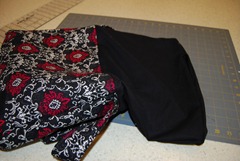
Stop 1/2” from the next corner and do the same thing, only attaching the remaining side piece and then sewing all the way to the top edge. You should now have something that looks like this:
Attach the back piece to the side and bottom pieces the same way.
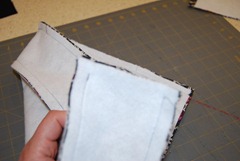
You’ll notice once that’s done that the bottom corners are still open.
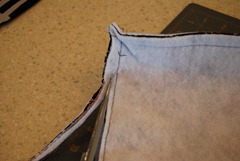
Fold them flat and stitch them closed.
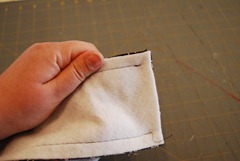
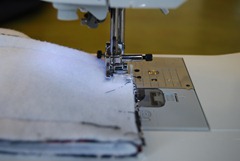
Trim the bulky seams.
Turn right side out and set aside.
Assemble the lining pieces the same way, but leave a 4” opening along one of the bottom seams for turning.
Center the flap piece, matching right sides, on the back of the body of the bag. Make sure it is NOT on the side with the velcro (that side is the front).
Use some pins to hold it if you want.
Center one end of the strap on each side of the bag.
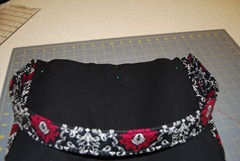
Here’s what you should have now:
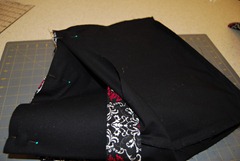
Slip that into the lining (which should still be wrong side out).
Match seams. Pin all the way around (but you’ll probably want to take out the pins you used to position the flap and the strap, since they’d get trapped inside when you’re sewing).
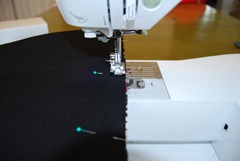
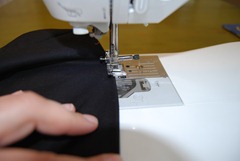
Sew along the top edge all the way around.
Turn the bag right side out through the hole you left in the bottom of the lining.
Pull the lining all the way out.
Sew the hole closed. You could hand stitch it so nothing’s visible, but who really looks inside the bottom of your bag anyway? I just do it quickly by machine.
Tuck the lining back down in and press the top edge.
Top stitch along the top edge, about 1/4 from the seam.
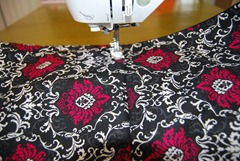
Enjoy your bag!
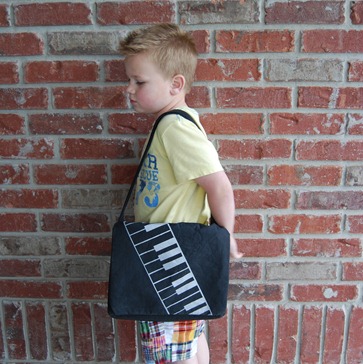
Manly:
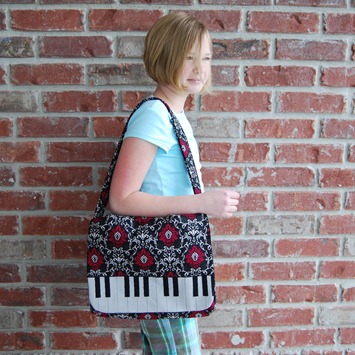
Or girly:
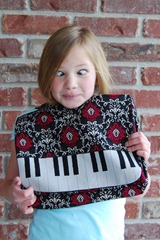
Or sick of mom taking pictures:
Perhaps we have bigger issues than not wanting to practice piano….








Haha! Your kids are cute. I love this idea as well, would have come in handy for lugging all my books around for my piano lessons!
sah-weet! now I just need to get my kid in piano lessons.
Love it!
These would totally have motivated me when I was a kid. Heck, I want one now! What is the fabric on your daughters? I love it!
ohmygoodness-what an awesome bag and tutorial! And I would die to have some of that cute pink patterned fabric!
Jana
Oh that is so fun! Love the piano keys! What a great bag for the instrument lover!
Awesome music bags – the girly one and the manly one!! I linked to your tutorial on Craft Gossip Sewing:
http://sewing.craftgossip.com/tutorial-piano-themed-messenger-bag-for-music-books/2010/05/06/
–Anne
The girly fabric came from Hobby Lobby.
I love these bags! They are so cute. I want my kids to learn to play the piano when they get bigger. I just might have to make these bags ahead of time so they are all ready to go to my Mom's to learn!! Thanks for sharing!
I found this from U Create!
-Amy
So adorable! I have many musician's in my life! Thanks!
Just a quick note to let you know that a link to this post will be placed on CraftCrave today [06 May 03:00pm GMT]. Thanks, Maria
Awesome! I'm featuring this at somedaycrafts.blogspot.com
These are so cute Char!!! I might start taking piano again just so I could have a bag like Macy! Tell her I am gonna show Jace that crazy picture of her!
These are so cute Char!!! I might start taking piano again just so I could have a bag like Macy! Tell her I am gonna show Jace that crazy picture of her!
Hi..I’m Barb….I am from Saturdays are crafty days .. Love the piano bags!! Can't wait to try it!!
I am your newest follower. I hope you will get a chance to visit my blog @ santasgiftshoppe.blogspot.com
& get inspired by something for your family/home. I hope you will follow me as well. Nice to meet ya new friend!!!
another one for my list – I told my husband about your site and how I'd started looking through the tutorials and kept opening up each one in a new tab….eventually I realized I had pretty much opened every single one -yikes – can you babysit my children so I can make some of this fun stuff? Kidding – thanks again!
Awesome! Every piano teacher appreciates some organization, trust me! Can't wait to post a link to this one on my blog.
Since you've got some kiddos taking lessons, swing on by and check out my music blog. Its full of tips and tricks on learning different musical foundations! http://www.jumponmusic.blogspot.com
What a nice bag for the music lover.Sweet.
I must thank you for the efforts you have put
in writing this website. I’m hoping to check out the same high-grade blog posts by you in the future as well. In truth, your creative writing abilities has inspired me to get my own, personal website now
What a material of un-ambiguity and preserveness of precious experience about unexpected
feelings.
I know this web site provides quality depending articles and extra data,
is there any other web page which presents these data in quality?
Somebody necessarily lend a hand to make critically articles I might state.
That is the very first time I frequented your web
page and so far? I amazed with the research you made
to create this actual submit incredible.
Magnificent job!
Way cool! Some extremely valid points! I appreciate you penning this post and also the rest of the website
is extremely good.
Thanks for finally writing about >Piano Bag Tutorial – Crap I’ve Made <Loved it!
Hi every one, here every person is sharing such familiarity,
thus it’s good to read this web site, and I used to pay a visit
this webpage daily.