We sewed our guts out last night….’til almost midnight. Good fun, ladies.
Here’s the recipe for the brownies. And I snuck downstairs to eat the last one for breakfast this morning and then told my kids there weren’t any left.


We sewed our guts out last night….’til almost midnight. Good fun, ladies.
Here’s the recipe for the brownies. And I snuck downstairs to eat the last one for breakfast this morning and then told my kids there weren’t any left.
I got my sewing machine back last night. I didn’t realize what a giant piece of junk my old machine was until I had to sew those onesies on it. And 12 aprons….more on that in a week or so.
I also received a bloggy award from both Emily at Not So Idle Hands and Stacie at The Creative Crate.
Thanks you guys!
What else have I been doing? Mostly breaking up fights. My kids are off track for a couple of weeks and then they go back for 13 days to finish up the year. Lame, ey?
Tomorrow night is my neighborhood sewing group. We’re making aprons at my house at 7. Bring your own fabric. Call me if you have any questions.
We’re also gearing up for Macy’s birthday party. Here’s a sneak peak at the invitations. I got the idea here, from Small Fry & Co (one of the Family Fun giveaway winners). We bagged them and added tags.


(Originally posted on UCreate)
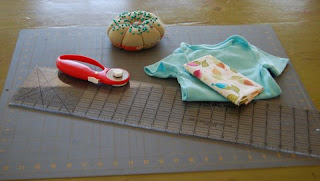
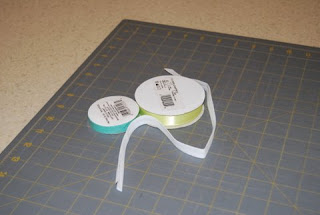
Supplies:
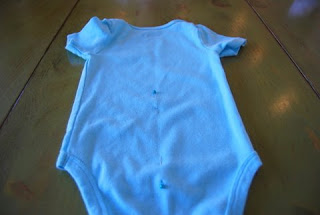
Measure the widest part of your bodysuit. This is a 6-9 month Circo brand (from Target). You can see it’s about 8". You’ll want to cut your strips 2-3 times longer than this measurement. I’m going to do 2.5, just to be difficult. 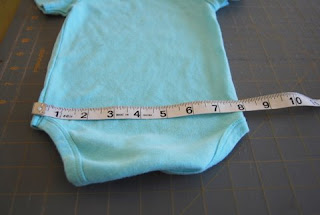
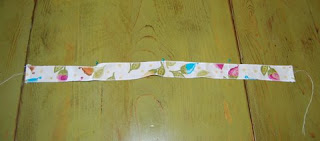
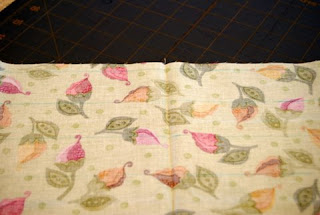
Cut three 1.5" strips of fabric. Make sure they’re 2-3 times longer than the width of the bodysuit. 
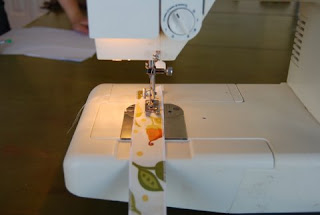
Set your serger to a 3 thread rolled hem stitch. Run the long sides of the strips through the serger, right side up, letting the knife just shave of the edge of the fabric. 
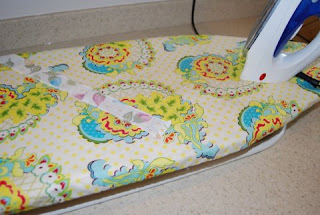
See? Not so bad! I press my strips because ironing *might* be my favorite part of sewing, but you don’t need to. 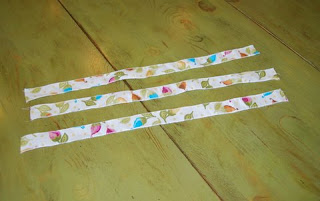
About 1" down from the top of the leg holes, measure the width of the bodysuit again. 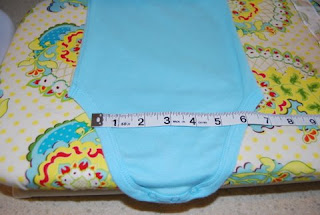
You’ll need 2 strips that are 2-3 times the length of your wider measurement and one strip that is 2-3 times the length of your shorter measurement plus. For my example, I cut 2 of my strips to 20" (2.5 X 8) and one strip to 15" (2.5 X 6).
Fold both ends of each strip under about 1/4" and press.
Stitch down the ends you just pressed under.

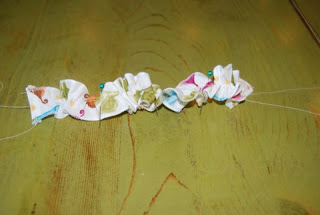
Sew a long gathering stitch down the very center of each strip.
Set the strips to the side for a second. Find the center of the bodysuit. I use a very fancy method called "folding it in half". Mark the center. I use pins. Put one up higher than your ruffles will be and one down lower.
Fold each strip in half and mark the center. Fold each half in half and mark that center, too. Again, I use pins.
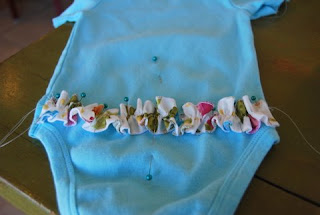
You’re going to attach the center row of ruffles first. Line it up with the tops of the leg holes. Put a pin in the center and then 1/2 the way out on each side. Since my bodysuit was 8", I put pins at the 4" mark and then at 2" and 6" marks. 
Pull your bobbin thread and gather your strip up a bit.
Now match up the pins on your ruffle to the pins on the bodysuit (excluding the really high one and the really low one). Pin the ends about 1/4" from the side seams. Adjust the gathers evenly. I like to put even more pins in at this point to keep things from sliding around. Seriously. I think I use 9 pins per ruffle. See?
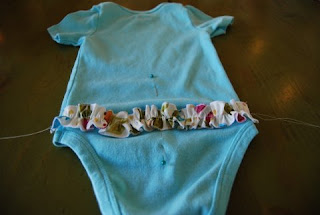
Sew down the center of the ruffle, right on top of your gathering thread. You really should remove the pins before you stitch over them, but I usually don’t. 
Your first ruffle is attached now. Remember this is the center ruffle. Remove your gathering threads (you should be able to pull them out). You’ll notice that I hadn’t done this yet in the picture below.
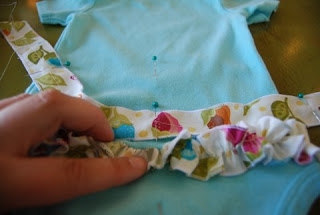
To place your upper ruffle, follow the same steps, but line it up by placing the lower edge under your center ruffle, about 1/4" from your stitching line.
2 down, one to go.
Attach the bottom ruffle the same way. Line it up by tucking the top edge under your center ruffle, about 1/4 from where you stitched the center ruffle down.

Trim all your threads and…. 
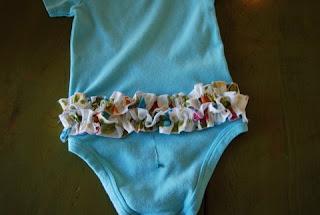
How cute is that??? What could be cuter?

I KNOW!!! (No, I did not put one of my boys in girl clothes….even if I have before….more than once…I borrowed a baby this time.)
So what if you don’t have a serger?
Option #1:
Cut your strips with pinking shears. I marked them out with a disappearing ink pen. Be sure to start down 1/2" or so from the top so you can pink both edges of all your strips.
Attach the strips in the same way as the ones with the serged edges.
Here’s what it looked like before washing:
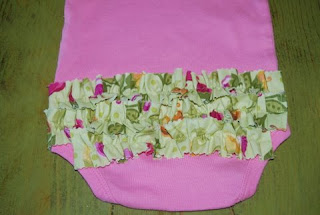
Here’s what it looked like after washing and drying:

I wasn’t really a fan of it…until it was on the baby. I have to admit, it might have been my favorite once it was on her.

Option #2:
Cut your strips 2.5" wide. Fold over approximately 1/4" on the bottom edge and hem. Then fold over 1/4" on both ends and hem.
Mark your bodysuit like this:

The lines are 1" apart with the center one being even with the tops of the leg holes.
Starting with the top line, put your ruffle right side down with the bottom of the ruffle towards the top of the bodysuit. Place the edge of the ruffle right along the top line.

Gather, pin, and sew about 1/4" from the edge of the ruffle.

Do the middle ruffle next and the bottom ruffle last. You should end up with something like this:

This is when I sprayed my disappearing ink to get it to go away.
Press your bottom ruffle down (the direction you want it to end up).

Top stitch the ruffle in place.

Do the same to the middle ruffle and then finally the top one.

Seriously cute, right?

guest blogging at Ucreate. There’s an all new tutorial for the ruffle butt onesie I mentioned a while back. Come over and see me!

I used this tutorial. I accidentally cut the strips 1.5″ instead of 1″ (because apparently I have a hard time paying attention these days) but everything still worked out OK. And guess what? My boys took turns beating the crap out of each other with this thing for most of the night. Guess what else? They really didn’t hurt each other! Woo! If you’re in the SLC area and you want to make one and you’re having a hard time finding brown flannel, Fabric Center on Redwood Road and 90th South has it in flat folds for $2.99/yard.
My sewing machine, however, didn’t enjoy this project so much. It appears that there will be a bit of a delay in finishing the 2nd whip. Like 3-5 business days. And that’s if they don’t need to order a part.
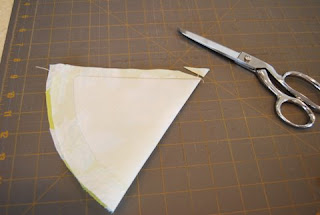
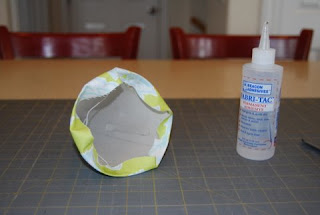
Supplies
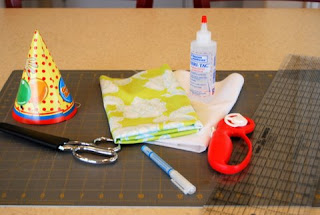
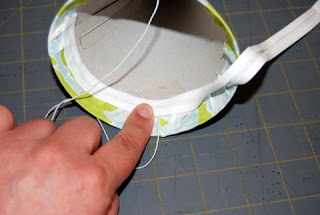
Open your hat, being careful not to rip the tab off. You’re going to need to put the hat back together later.
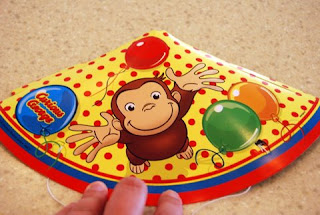
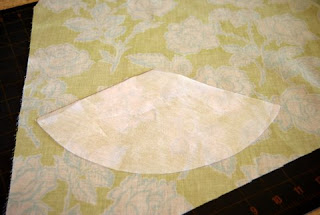
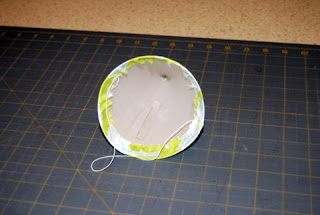
Trace the hat onto your interfacing. I used the pencil for this. Trace the entire bottom curve. On the slot side, stick your pencil in the slot and trace that, but not the outer edge. On the tab side, trace the edge, but not the tab. You’ll end up with something that looks like this:
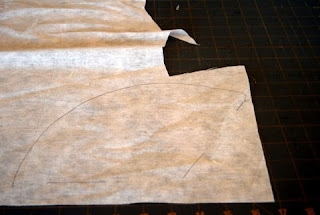
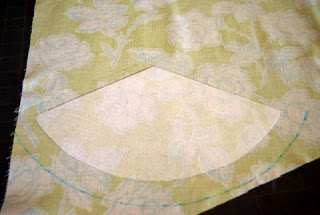
Take your ruler and extend the slot line in both directions. Then connect the lines on the tab side and extend them out, too.
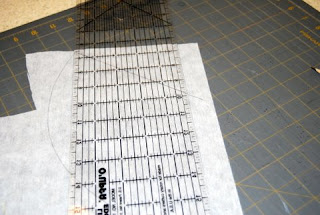
You should have something that looks like this:
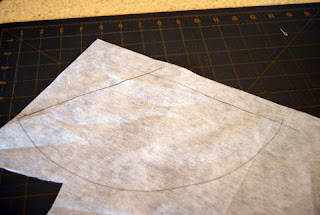
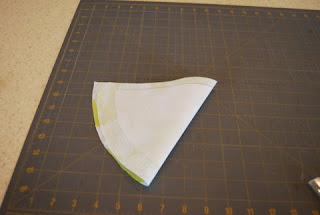
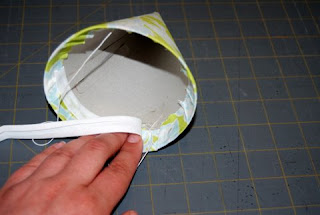
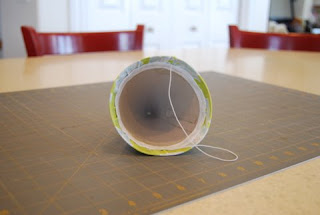
Cut it out and position it on the wrong side of your fabric.
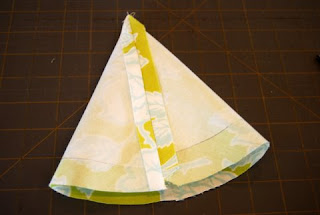
Fuse according to product directions.
Mark 1/2″ from your interfacing on both straight sides and 1″ on the curved edge. I used my disappearing fabric marker for this. See how I did a crappy job positioning and the left corner is missing? It’ll be fine.
Cut out on the lines you just drew.
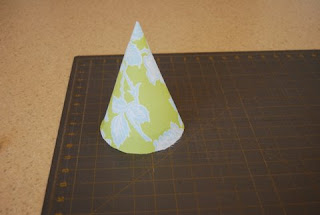
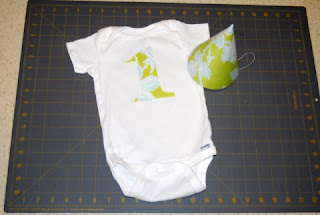
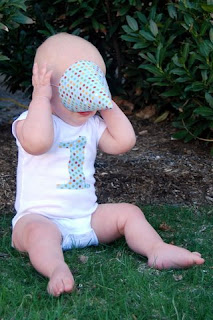
If you want to add extra embellishments or appliques or something, now is the time to do that. How freaking cute would this be with a cupcake applique for a little girl’s party or even with a number on it?
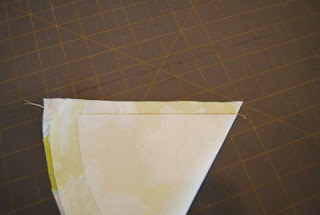
Fold in half with right sides together, matching up straight sides.


***For personal use only. Make ‘em, gift ‘em, please don’t sell ‘em!***


