Plant yourself a big old pot of paperwhites.

They’re one of my favorite things this time of year.
(Yes, that is a dog dish from IKEA.)
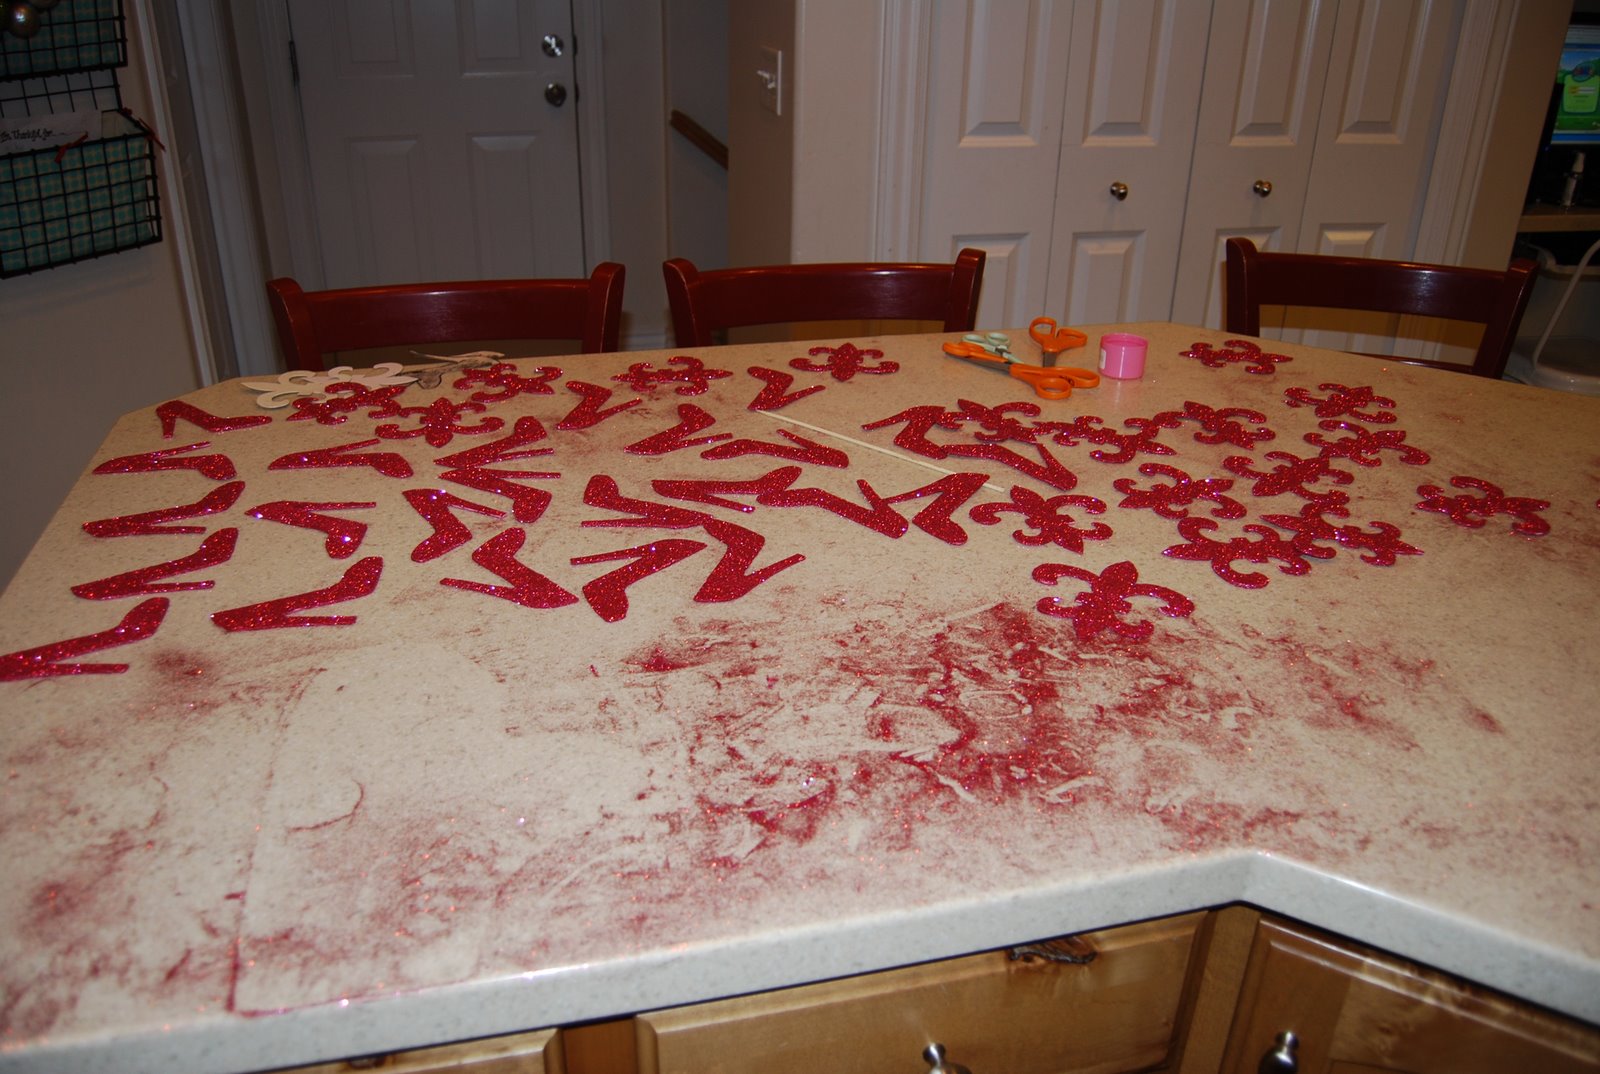
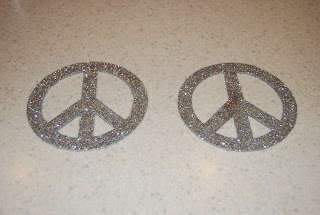
And here’s a sneak peek of a tutorial that should be done tomorrow:

Looks awful, right?
Stay with me…I promise it’s good.