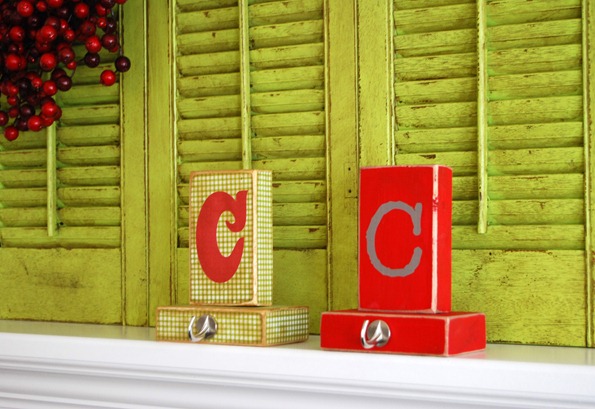
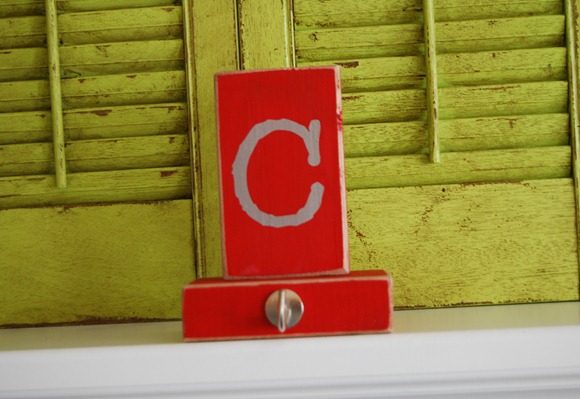
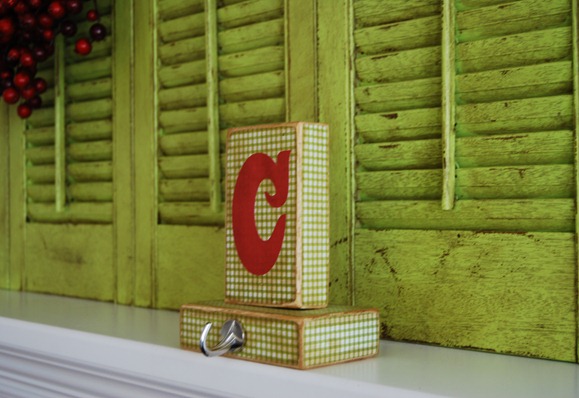
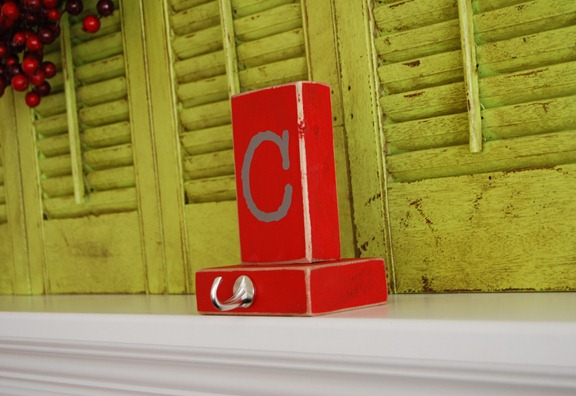
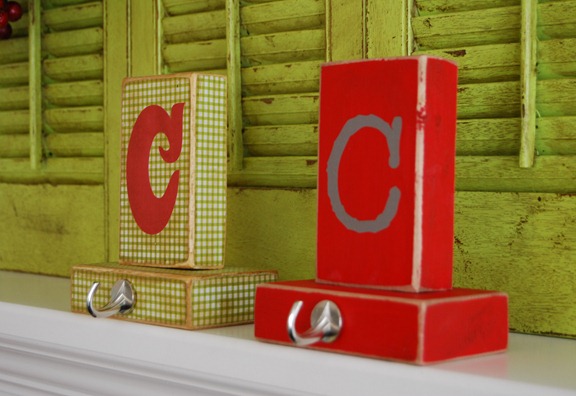
2 X 4 Stocking Hangers

***Don’t forget to enter to win a 25 Days of Christmas Activity Book here and a darling crocheted hat with flowers here.***

DSC_0008-1

Supplies:
Two 5.5” pieces of a 2X4
1 wood screw (2” or longer)
1 screw-in hook
Drill and drill bit for making pilot holes
Whatever paint, paper, pictures, etc you want for embellishing

You may want to sand your 2X4 pieces first. Or, just cut them straighter than I did. You decide.

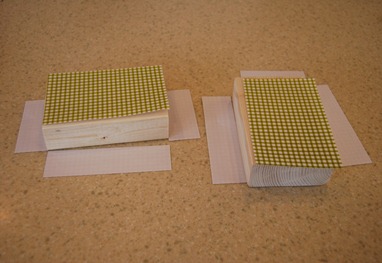
Embellish as desired. For the gingham looking one, I cut pieces of scrapbook paper the same size as the sides of my 2X4 and Mod Podged them on.

DSC_0987

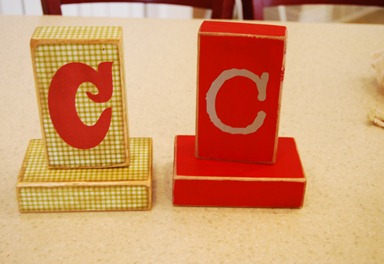
I just painted the red one with acrylic craft paint.

I applied a red paper C that I cut with my Silhouette to the gingham one and a silver vinyl C (also cut with my Silhouette) to the red one. You absolutely do not need a Silhouette to make these, mine’s just made me lazy. You could trace and cut by hand or print or paint or leave letters off completely. I think these have some hilariously awesome potential with family members’ faces on them.

I sanded the edges and used stain on one (gingham) and Ralph Lauren glaze on the other (red).

DSC_0989

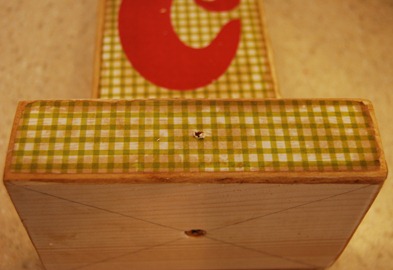
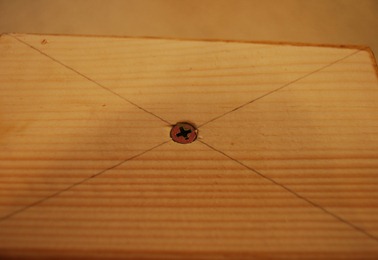
Using a straight edge, make lines connecting the corners of both pieces. This will give you the center/location of your pilot holes. Because my children have stolen all the rulers, I used a paint stick.

DSC_0991

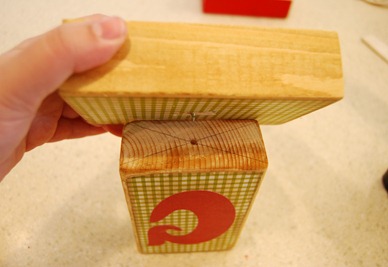
Drill all the way through the board for the bottom piece and an inch or so into the board for the top piece.

Drill another pilot hole on the center front. This picture shows the boards already assembled because I forgot to drill the hole for the hook the first time around.

DSC_0995

Put your screw all the way through the bottom board, so it sticks out just a little.

DSC_0993

Line up the screw with the hole in the top piece and finish driving the screw in. You’ll want to sink the head of the screw in just a little so that the boards will lay flat on your mantel, like this:

DSC_0994

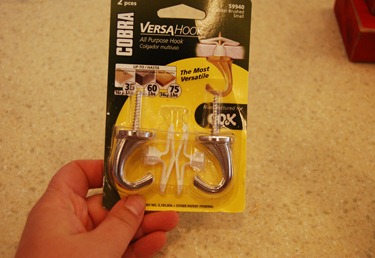
Here are what the hooks that I used looked like:

DSC_0996

You won’t need the plastic wall anchor part, just the hooks.

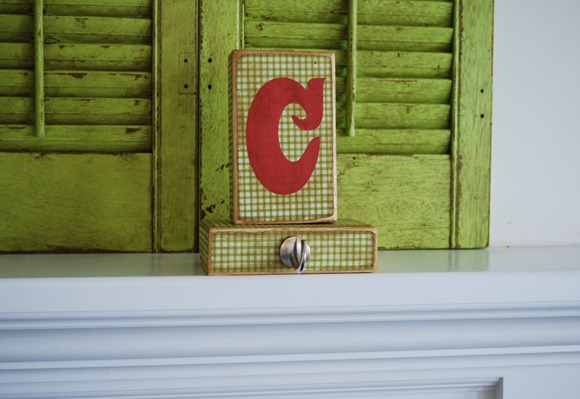
Screw them in, and you’re finished!

DSC_0997

DSC_0001-1

DSC_0998

DSC_0004-1

DSC_0009-1

***Only use for hanging EMPTY stockings!***


Visit thecsiproject.com
Please follow and like us:

Stocking Hanger Board

Whilst you’re waiting for me to get today’s giveaways up (that’s right…more than one!), I’m going to give you a hint about next week’s giveaway and show you a quick and easy project. I don’t claim to have invented this, I’m just going to show you my take on it.

Don’t have a mantel? No problem!

DSC_0918

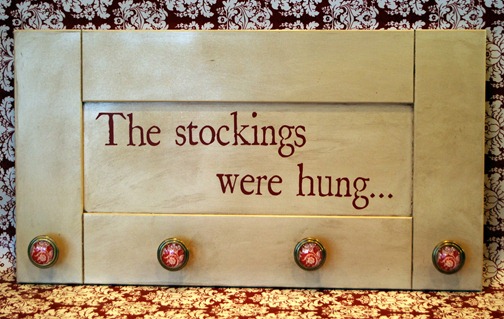
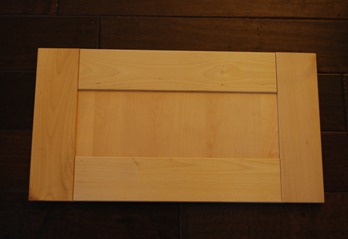
I started with a cabinet door from the as-is section at IKEA.

DSC_0929

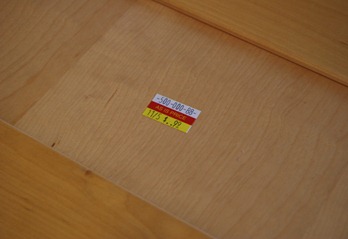
As you can see, I spent A LOT of money on it.

DSC_0927

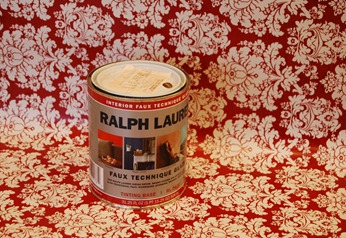
I gave it a coat of off white spray paint that I found in the garage and then glazed it using Ralph Lauren glaze in Tobacco.

DSC_0931

I applied some vinyl lettering I cut with my Silhouette (using painters tape for transferring small stuff/text is my new favorite trick). The font is called St. Nicholas…appropriate, right?

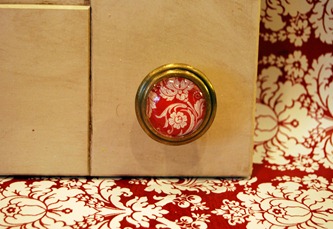
And then I drilled a few holes along the bottom and installed these fabulous knobs from Hobby Lobby.

DSC_0924

Total cost? $21, and that’s only because I spend $5 a piece on knobs. You could make this for WAY less.

Please follow and like us:

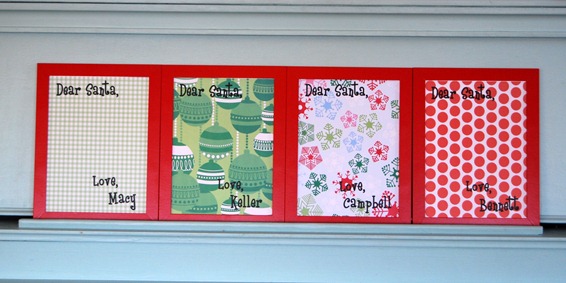
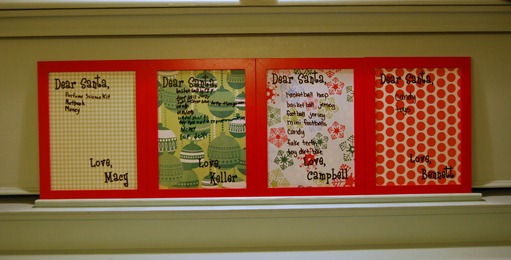
Dry Erase Letter to Santa

DSC_0887

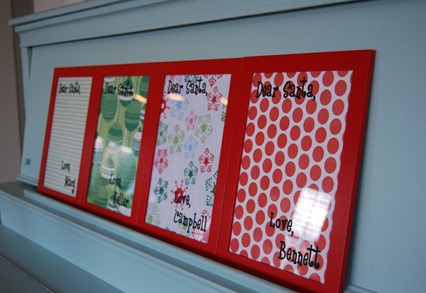
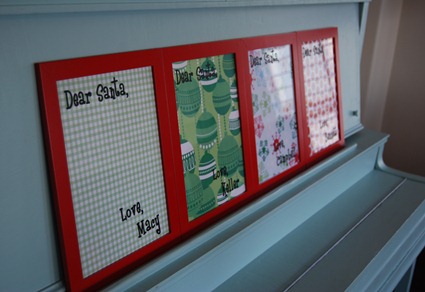
Do your kids change their minds approximately 8754 times before Christmas? Mine do. And that was precisely the reason I came up with this project.

It’s SUPER SIMPLE, so I didn’t photograph all the steps. I know you can figure out it.

DSC_0891

Supplies:
Frame
Decorative Paper
Vinyl lettering (I cut mine with my Silhouette) –or- you could run the decorative paper through your printer or write it by hand

DSC_0893

I chose these lightweight IKEA frames because I originally wanted to put magnets on the back and stick them on the fridge. I still might do that…

Give your kids a dry erase marker and have them make their lists.

DSC_0907-1

Laugh for 20 minutes when your four year old asks for fake teeth.

Please follow and like us:

Scentsy Warmer Makeover

***Don’t forget to enter the Scentsy giveaway here.***

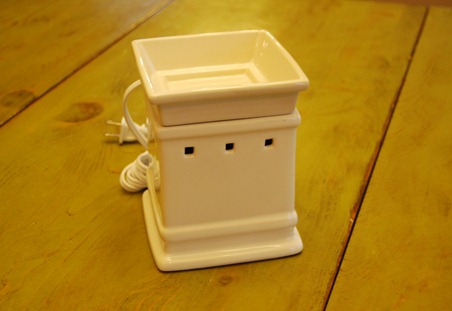
Emily sent me one of Scentsy’s DIY Warmers. Here it is straight out of the box.

DSC_0865

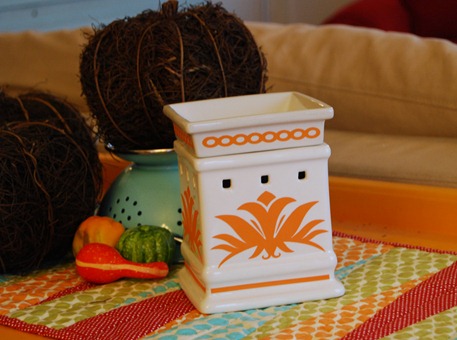
Scentsy has a bunch of different theme packs (seriously…20+). However, given my current orange obsession, I decided to pimp my warmer on my own.

I busted out my Silhouette and started cutting.

DSC_0872

I’m not thrilled with the circle-y border up top, but the good news is I can change it easily. I’m loving that I can change it up any time I want. I’ve got big plans for Christmas already!

Please follow and like us:

Pillow Week

***Don’t forget to enter to win the Scentsy giveaway here.***

Are you familiar with Erin from House on Hill Road?

Hers is one of the first blogs I ever started reading. I’ve probably made a dozen of her twirly skirts…and I’m not exaggerating.

Erin’s hosting pillow week this week. And while I don’t think I can commit to a pillow a day, I do have a few projects in mind.

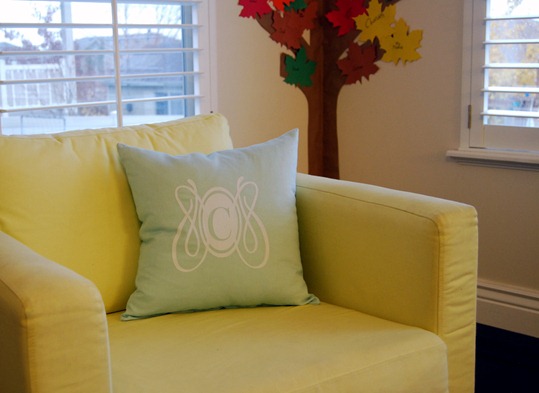
To kick things off, I whipped this up:

DSC_0860

I used some of the same aqua linen I used for the round ruffle pillow way back when.

The monogram is flocked heat transfer that I cut out with my Silhouette.

Anybody got any great pillow tutorials they want to suggest?

Please follow and like us:

So You Want To Be A Slurpee…

***Enter The Pleated Poppy giveaway here. It closes tonight!***
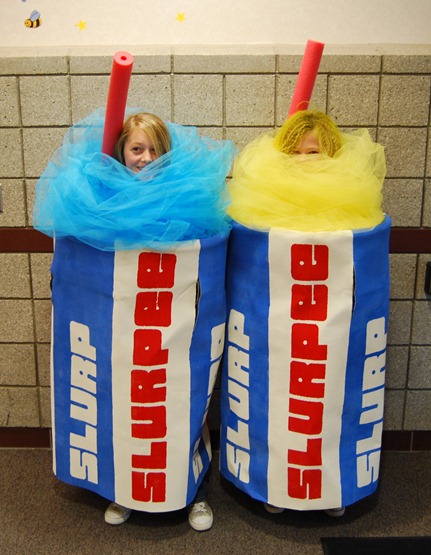
You’d better take a sedative, because that’s the only way anyone should ever commit to replicating these costumes.

DSC_0783

Here are a few of the specifics, if you’re interested:

The “cup” is cloth automotive headliner fabric (like for the interior roof of your car). I picked it up locally at Hancock Fabrics and then I started to paint.

And paint.

And paint.

It took over a gallon of white latex paint, just to get a basecoat.

And then I did a 2nd coat (took MUCH less).

I taped off each “cup” into sixths.

I found a Slurpee font and downloaded it. Then I used my Silhouette to cut the lettering out of freezer paper. (Tip: When cutting freezer paper with a Silhouette, use the green/cardstock mat, put the dull side down, and cut your design backwards.) The freezer paper only stuck marginally to the painted surface. I had to paint carefully, but it worked out OK.

The red lettering is acrylic craft paint. The blue is latex pain.

I hot glued a “casing” along the top edge. I used sprinkler funny pipe for the frame.

The straws are red pool noodles.

The beverage portion is tulle. There’s also a coordinating colored “collar” hot glued and Gorilla taped inside the rim of the cup. It has an elastic casing to slip over the head.

Please follow and like us:

Properly Spooky

***To enter to win the fabulous earrings from ThirtySixTen, go here***
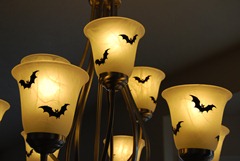
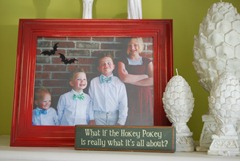
First there was the light fixture makeover.

DSC_0299

Then there was the bat explosion.

DSC_0305DSC_0318

And now I’ll give you a glimpse of the rest of my holiday decor.

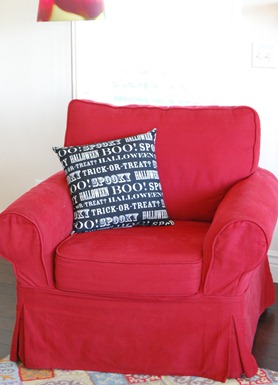
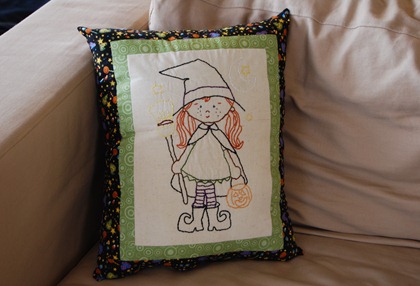
Throw pillows:

DSC_0428-1
(Target)

DSC_0490
(Macy…a free stitchery pattern that I found online last year)

Throw:

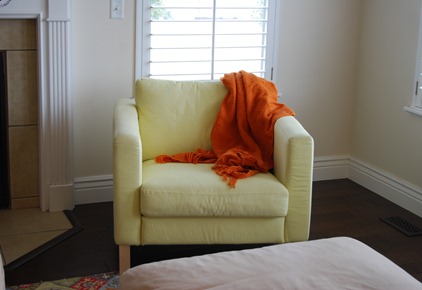
DSC_0483
(IKEA)

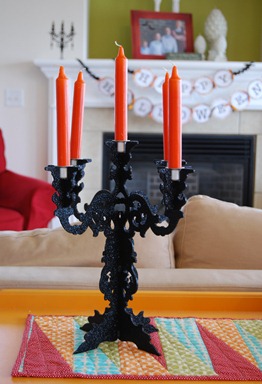
Sparkly black candelabras:

DSC_0479
(Savers. Orange candles from IKEA.)

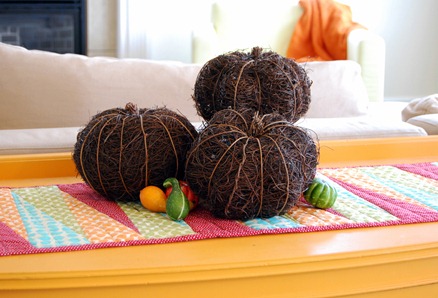
Vine pumpkins:

DSC_0478
(Target dollar section)

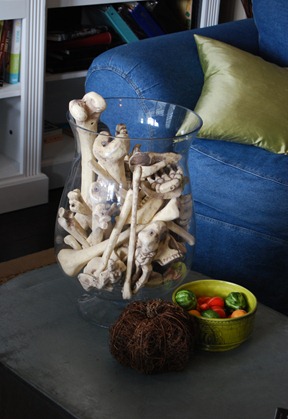
Skeleton in a hurricane:

DSC_0489
(Big Lots)

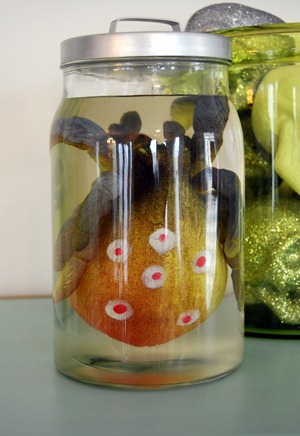
Creepy spider specimen:

DSC_0486
(It’s the kind that grows 4 times it’s size in water. I got mine locally at Orson Gygi for about $3. The jar is IKEA. The sparkly skulls behind it are from Dollar Tree.)

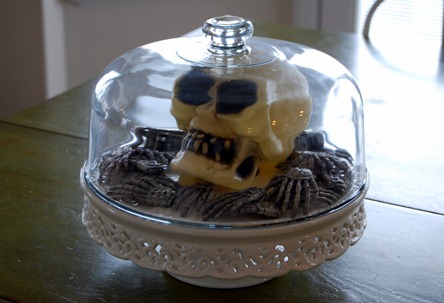
And a little something for the kitchen:

DSC_0494
(Cake stand from Home Goods, dome from Tai Pan Trading, skull and hands from Dollar Tree)

And tomorrow? A Halloween-y one day giveaway for all of you!

Check back bright and early for your chance to win!

Please follow and like us:

Spooky Soap Dispensers

DSC_0454

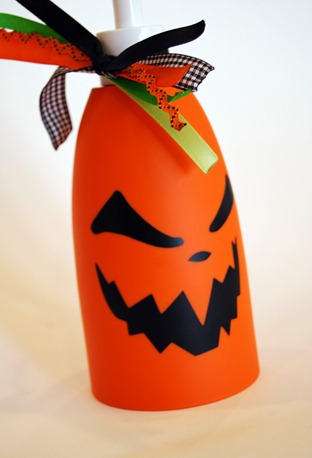
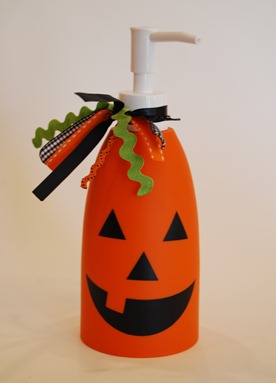
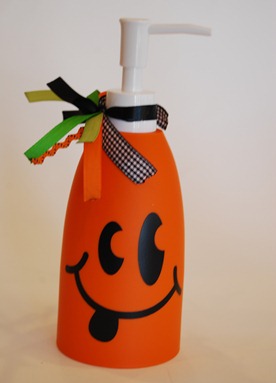
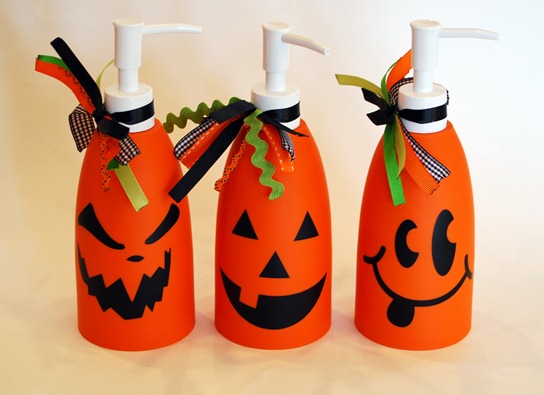
I found these plain orange soap dispensers at Target on clearance last weekend.

And my mind started spinning.

And pretty soon Macy had every.single.one left in the store piled in her arms.

I cut out some jack o’ lantern faces with my Silhouette, but you could EASILY cut these by hand. The Silhouette’s just made me lazy. ;)

DSC_0456

And then I tied some crazy ribbons, ric rac, etc around the tops.

DSC_0458
(That one reminds me of the Kool Aid Man.)

Easy, cute, cheap and perfect for gifting. Maybe your kid’s teacher? Your neighbors? Yourself?

DSC_0447

Please follow and like us:

Weekending

A belated birthday dinner.

A pair of these (not for me):

Cons

Some of this:

DSC_0921

And some of this:

DSC_0960

And some of these.

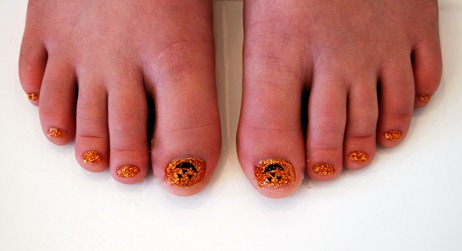
And also a set of these:

DSC_0432-1

(Used this method plus some tiny little black vinyl pumpkin faces from my Silhouette and this for the top coat.)

And the rest of the Fall/Halloween decorations are up.

How was yours?

Please follow and like us:

More bats!

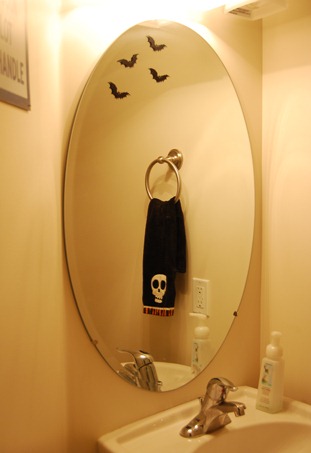
So, you remember the light fixture, right? (Just say yes…it was only last week!)

I had a few extra bats, and now I think I have a problem.

They’re here:

DSC_0304

And also here:

DSC_0323-1

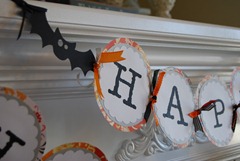
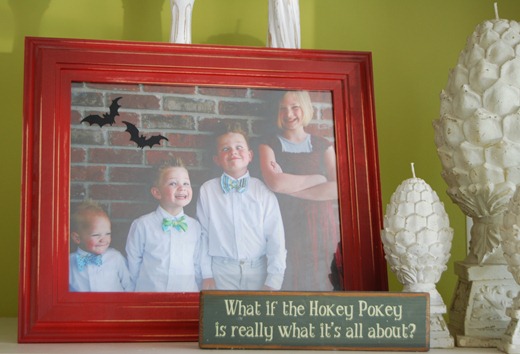
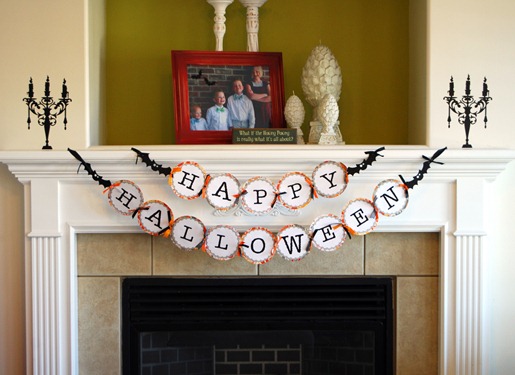
And THEN, I made a banner. With bats.

DSC_0318

DSC_0311

Also? I want to marry my Silhouette. There. I said it.

Please follow and like us:

Creative Commons License
Crap I've Made by Char is licensed under a Creative Commons Attribution-Noncommercial-Share Alike 3.0 United States License.
Based on a work at www.crapivemade.blogspot.com.
Permissions beyond the scope of this license may be available at www.crapivemade.blogspot.com.

MyFreeCopyright.com Registered & Protected
BLOG DESIGN BY: