Another PB knock off

Before I get to that, I just wanted to draw your attention to the auctions going on this week over at A Daily Scoop. A young husband and father (an 8 month old and a baby on the way!) died last week when he became stuck in a cave. I don’t know this family in any way, but I have been in that cave (with BC when we were engaged), so it hit close to home. I’ve donated 2 camera straps to the auction. If you want to bid on them, click here.

Whilst perusing the Pottery Barn catalog, my neighbor mentioned she’d noticed there were some ornaments pictured that weren’t actually for sale.

peace2

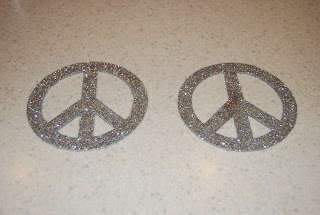
You can buy the little stuffed hearts, but the other one is nowhere to be found. Here’s my knock off!

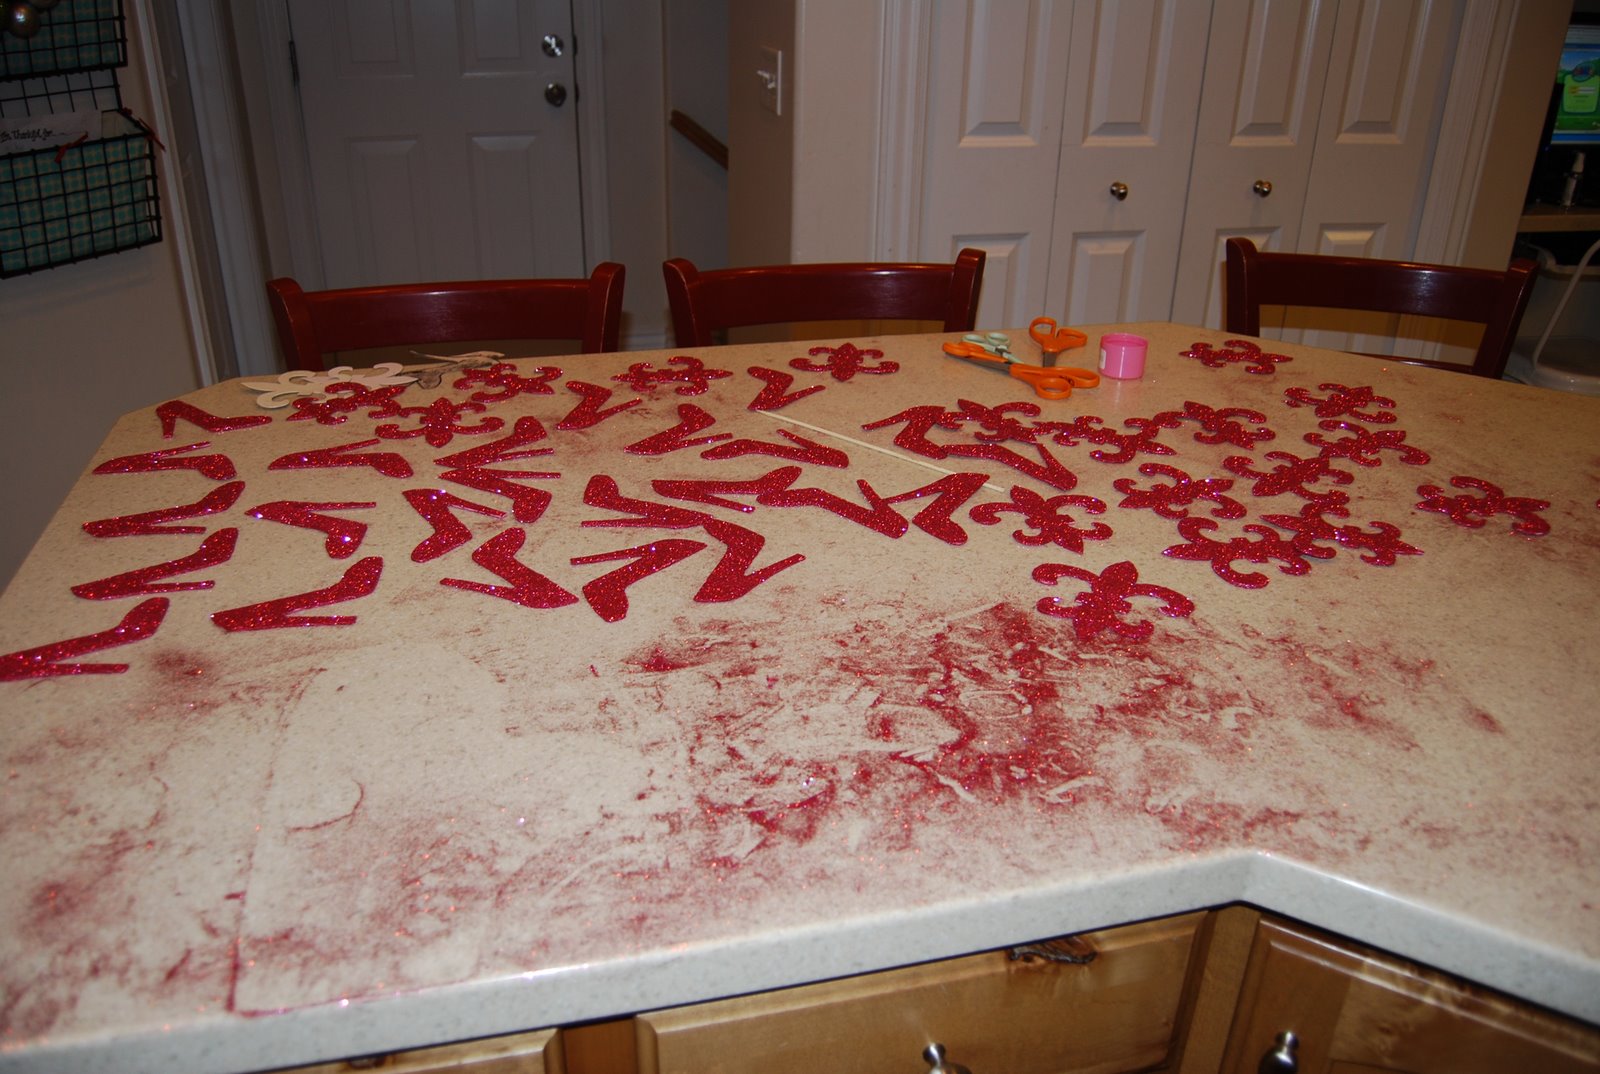
Trace a peace sign (or whatever shape you prefer) on cardboard. I used an old Amazon box. Here’s my template.

DSC_1517

Cut it out. You can probably use scissors for the outside, but you’ll need an Exacto knife for the inside.

DSC_1518

Don’t forget to punch a hole in the top for hanging. I couldn’t find my big hole punch, so I just punched a bunch of little ones together. It looks awful, but you won’t be able to tell once you’re done.

DSC_1521

Get your Mod Podge and a sponge brush. You’ll also want a small brush.

DSC_1520

Sponge brush a thin layer of Mod Podge on one side of the cardboard. Stick it to the back side of your paper. I used some great wrapping paper from Hobby Lobby. It’s thinner than scrapbooking paper, which is important. It also has this fabulous grid printed on the back with logos to show you the center of the design. NICE for centering your ornament.

DSC_1522

Trim the wrapping paper, leaving approximately 1/8” (or the thickness of your cardboard) all around.

DSC_1524

Don’t be too jealous of that fancy IKEA cutting board I use for crafting. Cut slits in all the inside corners and a + (like the straw hole in a take out cup) in the hanger hole.

DSC_1525

Take your small brush and, working in small sections, Mod Podge the edge paper down to the edges of the cardboard.

DSC_1526

DSC_1527

Put a dab of glue in the hanging hole and then stick the handle of your brush through it. This makes a nice round hole instead of that mess I punched out.

DSC_1528

You may need to use the blade of the Exacto knife to push down some of the inside corners.

DSC_1529

Repeat with the other side.

DSC_1532

Once that’s done, give the whole thing a coat of Mod Podge. Let it dry and…..

DSC_1515

Please follow and like us:

Templates for the Fleur de Lis and high heel

Several of you have emailed me and asked for the templates my sister and I used to make the ornaments for the tree at her store (seen here) and I’m a giver, so here they are.
And don’t forget that the 12 days of handmade ornaments starts today. I’ll be there on the 7th.

Photobucket

Please follow and like us:

Like handmade ornaments?

You’re in luck!
Kristin over at Write It Down (click on over, even if it’s just to listen to Sarah Mclachlan’s version of Silent Night — #8 on her playlist) is hosting 12 days of handmade ornaments starting tomorrow and running through the 12th.

Photobucket
I’ll be posting on the 7th.
Here’s the scary part: I have no idea what I’m making yet. And, I’m leaving town Friday.
Guess I should get busy?
Please follow and like us:

You might be a redneck if….

you blow up rubber gloves and convince your kids to color them like turkeys so they’ll stay out of your way whilst you’re making Thanksgiving dinner.

We also may have cooked 2 turkeys for 10 people (6 adults). We wanted to try 2 new methods.
#1 came from Martha and is called “spatchcocking” (yes, really). Click here if you want to check it out. It was delicious and super juicy.
#2 came from a Costco impulse buy last year. We have an oil-less turkey fryer from Char-Broil. Also delicious, although it took a little longer than anticipated because our temperatures were below 40 degrees.
I’d do both again. Enjoy the rest of your holiday weekend!
Please follow and like us:

So sparkly I could be a vampire

My sister and I decided to make ornaments for the Christmas tree at her store. We used the same method I used for the peace sign ornaments, but we cut out high heel and fleur de lis shapes instead. And used hot pink glitter. And made like 50 of ‘em.
What a mess!
No, really. Look:
The Christmas gift crafting has begun. I’m making these fabulous family trees using the templates by Erin from Sutton Grace. My grandma loves a good homemade gift and appreciates the work that goes into them. And she doesn’t read my blog.

In other news, nerdy pants Macy got an award at school today for getting 100% on a district math test. I heart math.

We’re headed over the river and through the woods for Thanksgiving….be back Saturday. Hope your holiday is great!

Posted by Picasa
Please follow and like us:

You know that fabulous Eddie Ross wreath?

This one.


Everybody’s making them, and I’m a follower….a cheap follower.

So, I loaded up the fam and headed for Dollar Tree. I found plenty of ornaments and almost everything else I needed. They were out of white glue. Weird.
The line to check out was long and winding.
Bennett was about 10 minutes into nap time, so I asked BC to take him and Campbell out to the car and get them buckled. That just left me with the 2 big kids. Smooth sailing, right?
Wrong. Very wrong.
I heard a crash. 50 shoe box sized plastic storage bins went down. And a Scotch tape display. And 2 boxes of bubble mailers.
*sigh*
Guess who spent the next half an hour re-stacking storage bins?
At least the wreath is cute?
Posted by Picasa
Please follow and like us:

Peace Sign Ornament Tutorial

Have you seen these ornaments in the Pottery Barn catalog?

peace

Here’s a whole tree full:

peacetree

Cute, right? BUT, they’re $6 a piece. And I’m cheap. Here’s how I made mine.

Print out a template of a peace sign. Here’s mine. It measures about 5.5”. The PB ones are 7”.

Cut out the template and then trace it on some craft foam. I got a pack of 40 sheets for $4.99 at Michael’s.

DSC_1455

Cut it out with scissors and punch a hole for hanging. I used a small hole punch but you might want to use a regular size, depending on what you’ll be hanging them from.

DSC_1457

Spray paint both sides with a color that matches your glitter.

DSC_1458

Here’s what you should have now:

DSC_1451

Next you’ll need one of two things: Mod Podge or glittering glue. You can get the glittering glue at Michael’s in the Martha Stewart section.

DSC_1452

On the left is Martha Stewart Glittering Glue with a brush applicator. On the right is some Martha glitter. It’s a fine glitter. You want fine glitter.

Brush the Mod Podge or glittering glue all over one side of the peace sign. Don’t be alarmed that the glittering glue looks like this:

DSC_1459

It doesn’t dry super fast, so you’ve got some time to make sure you get a nice even coat. If there are any drips around the edges, wipe them off before you glitter. The glittering glue is more like a paste and doesn’t drip as much. It also dries slower.

I made one using each product and liked certain things better about each one. I’ll post both pictures at the end and let you decide if you can tell a difference.

Move the peace sign onto a clean piece of paper and sprinkle glitter all over it.

DSC_1453

Tap off the excess glitter and set it aside to let it dry. You may need to use a skewer or something to make sure the hanging hole stays open.

DSC_1454

Once it’s dry, flip it over and do the same thing to the other side.

After both sides were dry, I took a small brush and touched up the edges with glue and glitter.

String a ribbon or some fishing line through the hole and hang!

Finished product?

DSC_1461

And here’s the side by side comparison. Glittering glue is on the left and Mod Podge is on the right.

Please follow and like us:

They’re baaaaaaaaack!

I wait all year for these babies to appear in my grocer’s freezer case.

I think they’re even better than I remembered.

The holidays can begin.

Posted by Picasa
Please follow and like us:

Winner! Winner! Winner!

The winner of the Piggy’s & Petals crocheted beanie and flower giveaway is:

Kristin, who said “These are so cute. I think I’d pick white or shocking pink!”

The winner of the Piggy’s & Petals pettiskirt giveaway is:

Lydia, who said “Hmm. I might need two – chocolate and pink, and pink and white. Sooo cute!”

And the winner of the Piggy’s & Petals $25 gift certificate is:

Alicia, The Constant Gardener, who said “Definitely a couple beanies and some flowers to go with!”

Email Randi at [email protected] to claim your prize!

All of you non-winners remember you can still get 20% off your entire Piggy’s & Petals order. Email Randi at [email protected] and tell her you’re a reader!

Thanks to everyone who entered!

Posted by Picasa
Please follow and like us:

Whole lotta random

First up, I’ve only gotten an address for one of the 3 winners of the Germ Free 24 giveaway last week. SS/Susan and Infertility Goddess – Please email me at [email protected] to claim your prizes! We’ll draw someone new next week if I don’t hear from them. If any of you are still interested in buying some to try for yourself, don’t forget to use code “CRAP4YOU” to save 20%.

Dont forget! Today is the last day for the Piggy’s & Petals giveaways. Pettiskirt is here, beanie plus flower is here, and $25 gift certificate is here. You have until 8:00 Mountain time tonight to enter! Want to save 20% even if you don’t win? Email Randi at [email protected] and tell her you read my blog. Remember, everything but the pettiskirts ships for free anywhere in the US! I saw her last night and she said you guys are keeping her BUSY. I also picked up some beanies for Macy. They’re darling even on big girls.

It seems like a lot of the questions I get in my email are the same, which means there are probably more of you that are wondering the same things. So, here are some random Q & A’s.

Can you give me some tips on painting _________ ?
I can, but they’ll probably ruin your project. KIDDING! I’m going to tell you all my secret….find the oldest dude in the paint department at Home Depot. You know, the guy who permanently has paint under his fingernails. Ask him what you should use. There’s a guy at my Home Depot that cringes every time he sees me coming. He’s helped me through many a painting disaster. Now you know my secret.

Can you do a tutorial for (insert pattern number here)?
Most of the time when I make a pattern, I don’t make it more than once. Taking pictures of every step of a project is pretty time consuming, so I don’t usually do it. Maybe I should? Dunno…but I try to share anything that was wrong, confusing, etc.

What is that thing on your wall next to your piano?
It’s a magazine rack that I use to hold our music. I got it at Down to Earth in Gardner Village. If you’re not a Utahn, that won’t make sense. I went back and got 2 more. That project should be blog-able in the next week or so.

Honest Scrap/Kreativ Blogger award
A few have you have been kind enough to share awards with me. I’m flattered and appreciative. However, I SUCK at passing on awards. I always get nervous and afraid I’ll forget/offend/annoy someone. Know that I really am honored, I swear!

I think that’s it for today. If anybody else is interested in doing a giveaway, email me at [email protected] and we’ll work something out!
Please follow and like us:

Creative Commons License
Crap I've Made by Char is licensed under a Creative Commons Attribution-Noncommercial-Share Alike 3.0 United States License.
Based on a work at www.crapivemade.blogspot.com.
Permissions beyond the scope of this license may be available at www.crapivemade.blogspot.com.

MyFreeCopyright.com Registered & Protected
BLOG DESIGN BY: